In order to seal the hull and give a smooth finish to paint ,I will coat the hull in glass cloth used for skinning model planes, from Scottishborder models
I have never worked with this , so I'll practice on the hatch cover first.
Monday, 30 March 2015

Inside the hull
The hull in general is in good condition but needing to be a bit more watertight in parts.
I poured yacht varnish in the hull and gave it a swish about.This took a while to dry and was a wee bit messy.


I poured yacht varnish in the hull and gave it a swish about.This took a while to dry and was a wee bit messy.
Hull inside.
This shows the gaps in the hull ( outside macro X10 )
Rigging.
After a
short rummage about in an under the stairs cupboard I found the boom arm of the
yacht rig.The boom is in good condition and fits to the mast base ( not sure how ).
Boom arm.
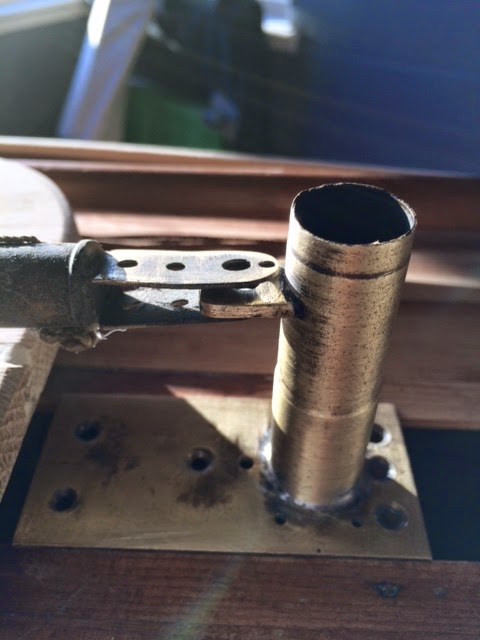

As far as I'm aware there is no jib parts, I do have the rudder and it looks OK. Don’t know how efficient it will be though.
Hopefully
when the rigging is done it will look something like this.

Saturday, 28 March 2015


Starting to strip
The first thing to do was to strip off the canvas skin on the hull which was coming away and very uneven.The canvas came off quite easy to reveal a planked hull, with lots of nails and gaps.
Subscribe to:
Posts (Atom)